Hello everyone!
It's been really quite awhile since my last post. Health wasn't quite well with me for awhile...depressed for quite sometime...mojo's off...and didn't notice time moves and I was left behind!!! Behind with a lot of responsibilities too.
Anyway, I'm getting back on track and trying to catch up with all that's needs catching up. Energy level is not 100% but at least on the way up I guess and hope it will continue.
Anyway, I would like to inspire you with
projects using Martha Stewart glass paints and adhesive silkscreens. It
looks
like glass painting is a hit lately and I painted a bit myself too! Yes,
time to explore...time to bring something fresh to my crafting space!
The glass paints really works great and
comes in a number of finishes. I used Yellow Gold Metallic, Raspberry
Ice Gloss Opaque, Key Lime Transparent and Feldspar Fine
Glitter glass paints for
these projects. Love the fun paint colors!
The paint comes with
fine point applicator tip and in a nice size bottles which is perfect enough for my craft space. Of course
there are a wide of variety of colors available at Paper Lane
along with Martha Stewart paints accessories such as tools and applicators
which are brilliantly and beautifully designed, stencils and silkscreen,
mediums, finishes and specialty effects. Have to grab some for myself too!
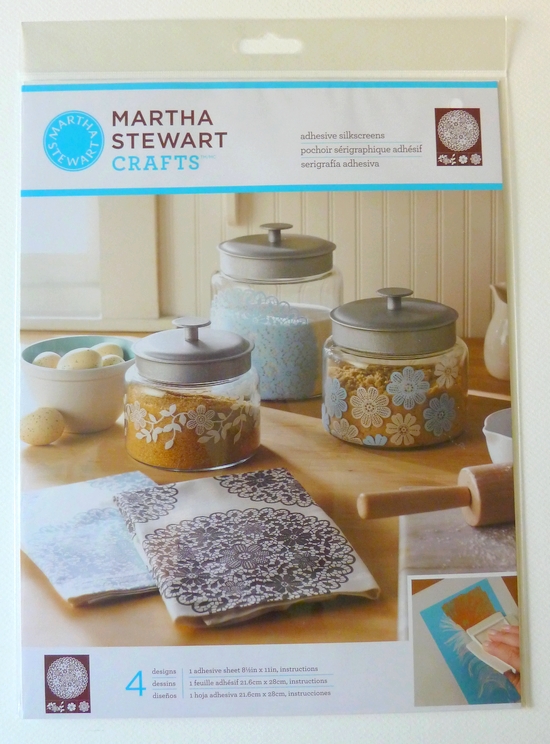
Also, I used the Martha Stewart Floral Doily adhesive silkscreen along on these projects and I just
love how my projects turn out.
The first glass painted project I did was on a flower vase. Imagine from a plain flower vase to this:
I used Raspberry
Ice Gloss Opaque, Key Lime Transparent glass paints on the
vase. Really love these paints!
It has a creamy, smooth texture and really good consistency. There is almost no
odor, too.
The silkscreen is wonderful too! It gives
my project an exquisite detailed design. I find the adhesive backing makes it
simple and easy to apply the paints on the curved surface of the vase.
I used the Foam Pouncer Method for these
projects which I found quite easy for me to use and just ideal for curved
surfaces.
And here’s another glass project:
I used Yellow
Gold Metallic glass paint for these drinking glasses.
Now, I have beautiful and unique hand
painted drinking glasses to grace my table and to offer to my guests.
There are two
methods for curing the Martha Stewart Glass Paints:
Oven-cure and Air
dry method. I used the air dry method (as I live in a sharing accommodation and
shares oven with other staff). My project has now been air dried for 21 days.
As I don’t have a dishwasher either, I hand washed my vase and glasses and WOW
the paint did really stays on the glass!!!
Just in case, here’s the oven-curing directions I
found on the internet are as follows:
After drying for 1 hour, place in cool oven. Set
temp to 350 degrees F and bake for 30 min. (Glass must heat gradually) After 30
min turn the oven off. Let glass cool completely in oven. Don’t use for 72
hours.
I got carried away and I thought I’d play a bit more with these
paints. I'm using these plain glass tea light candle holders for quite awhile now. So, I
give them a lift up. It is new year after all, time for a new look!
Used again the Yellow Gold Metallic glass paint but this time I top it up
with Feldspar Fine Glitter. I love
the sparkle and how they complement each other. It’s awesome that the glitter is light enough
to let me layer the paints for a really customizable look! Just remember not to
oven-cure projects with fine glitter finish; air-cure only.
We are so lucky that Paper Lane has
brought these here in Dubai and stocks the entire selection of Martha Stewart craft paints and
wide varieties of tools and accessories.
I hope you will find time to visit Paper Lane and grab some Martha Stewart craft paints, tools and accessories. This is really a good quality
product and fun tool that you should have in your craft box!
2013…
new you…
explore…
believe in yourself
and let creativity flows.
With these candle lights, I wish that the
lights of the 2013 will bring everlasting joy, colors and merriment to your {painting and crafting}lives.
Love,
Irene